How to add captions in CapCut (auto captions and SRT import)
CapCut's auto captions are fast and, for a short clip, usually fine. Two things go wrong as videos get longer: it mishears names and jargon, and the timing slides - captions that match at the start are noticeably late by the end. Both are fixable, and neither requires re-typing anything.
1. Turn on auto captions
On mobile, add your clip to the timeline, then open Text → Auto captions. On desktop it's the Captions tab, again Auto captions. Pick the spoken language - not the language you want captions in - and let it transcribe.
CapCut moves these menus between versions, so treat the exact path as a hint rather than gospel; the feature is always called auto captions.
If your video has music under the voice, expect a worse result. Every speech-to-text model does better on a clean voice track, so caption the raw voiceover if you have it and place the music afterwards.
2. Fix the words it misheard
Open the caption list and read it through. Names, product names, acronyms and anything domain-specific are what it gets wrong - a model that has never seen your terminology will substitute something that sounds close.
Do this before exporting or styling. Every later step is built on this text, and correcting a word after you've styled forty captions means touching them all again.
3. Export the captions as an SRT
CapCut can hand you the captions as a subtitle file rather than baking them into the picture. In the captions panel, look for the export or download option and choose SRT. That file is plain text: cue numbers, timecodes, and your words.
Keeping the SRT matters for two reasons. YouTube prefers an uploaded caption file over burned-in text, because it can read the file and index it. And an SRT is portable - it opens in any editor, and it's what every re-timing or translation tool expects.
4. Why captions drift, and the fix
Auto-caption tools don't measure when a word was spoken. The transcription model returns text along with an approximate position, and the caption file is built from that estimate. Small errors accumulate, which is exactly why the start of a long video looks fine and the end is a second out.
Nudging cues by hand fixes the symptom for one video and takes longer than the edit did. Forced alignment fixes the cause: it takes the words you already have and searches the audio for where each one actually occurs, down to the phoneme.
That's what our subtitle generator does with the SRT you just exported. Drop the video and the caption file together - your words are kept exactly as corrected, and every one is re-timed against the audio. Nothing is re-transcribed, so the names you fixed in step 2 stay fixed.
5. Import a subtitle file back into CapCut
Once the timing is fixed, the corrected SRT goes straight back into your project. This is also the route to take if you wrote your captions somewhere else entirely and never used auto captions at all. One limitation worth knowing up front: SRT import is a desktop-only feature - the mobile app can't do it. CapCut moves its menus between versions, so treat the exact positions below as a hint; the importer always lives under the Text tab, next to auto captions.
Step 1 Import the video. In a new project, click Import in the Media panel, or just drag the file in.
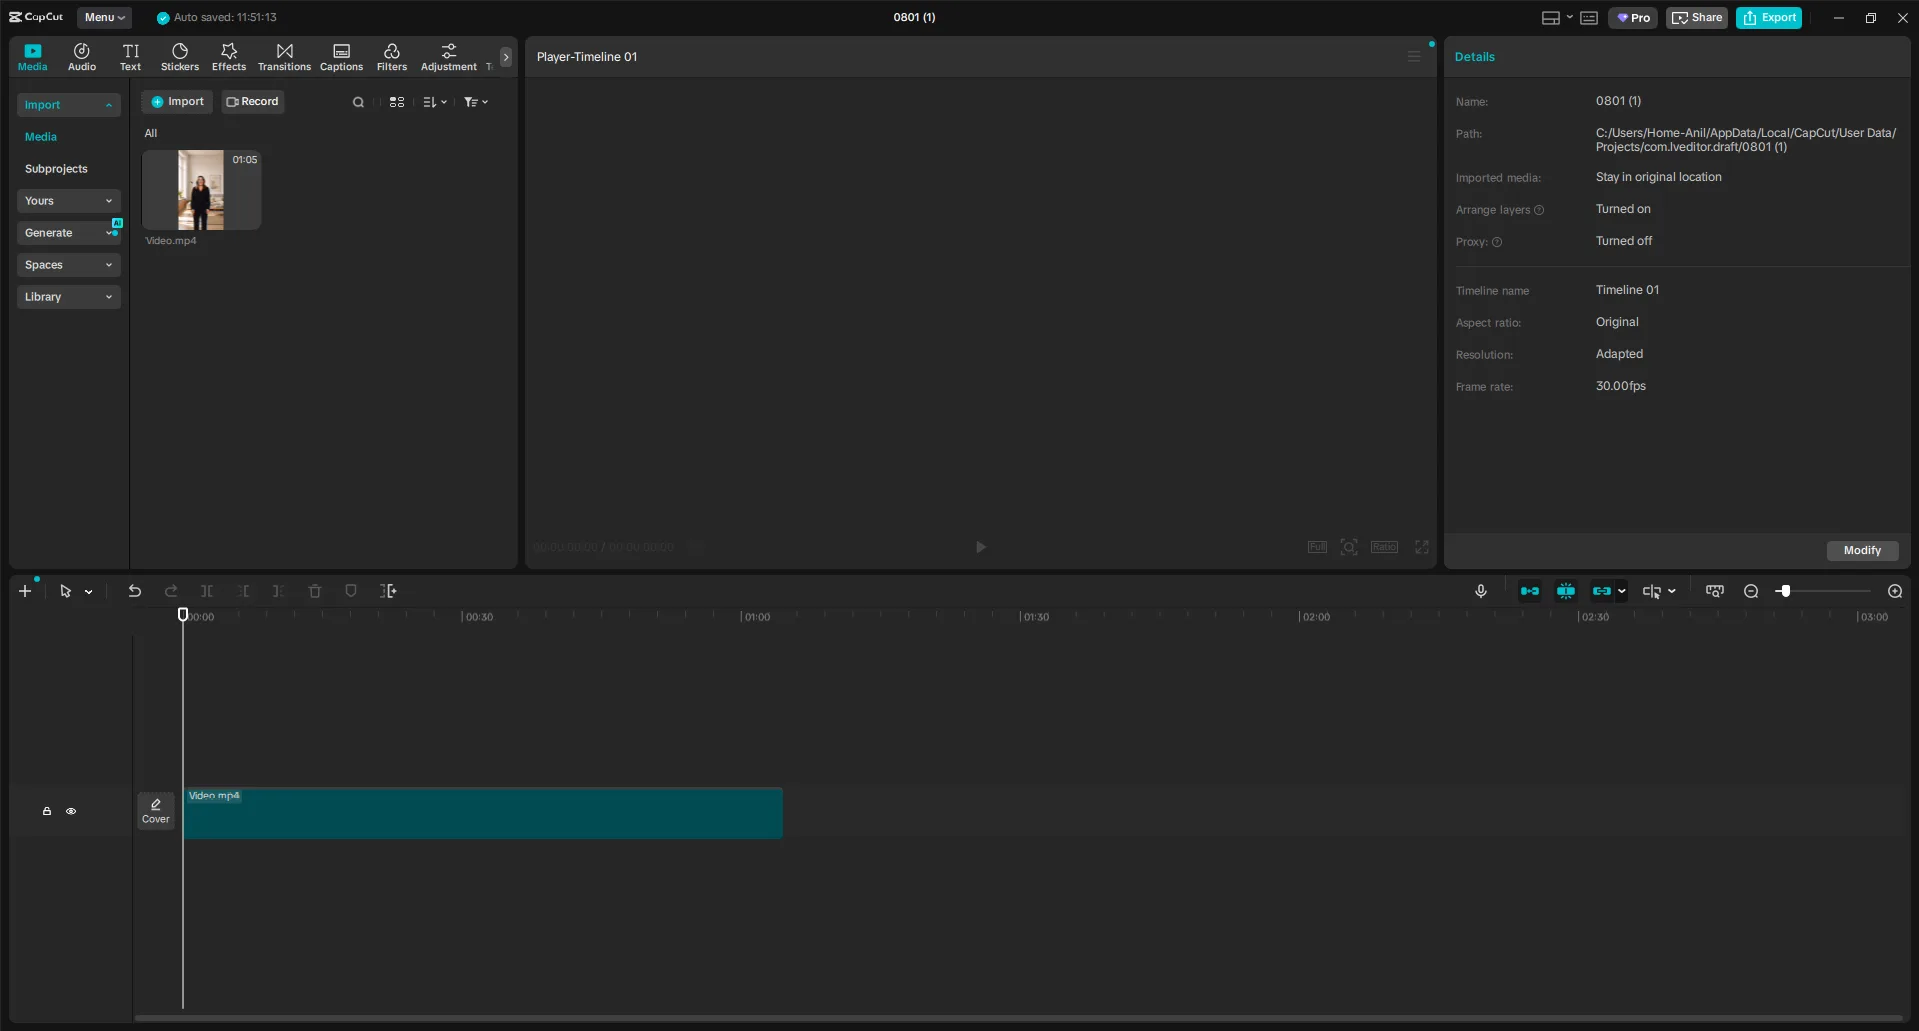
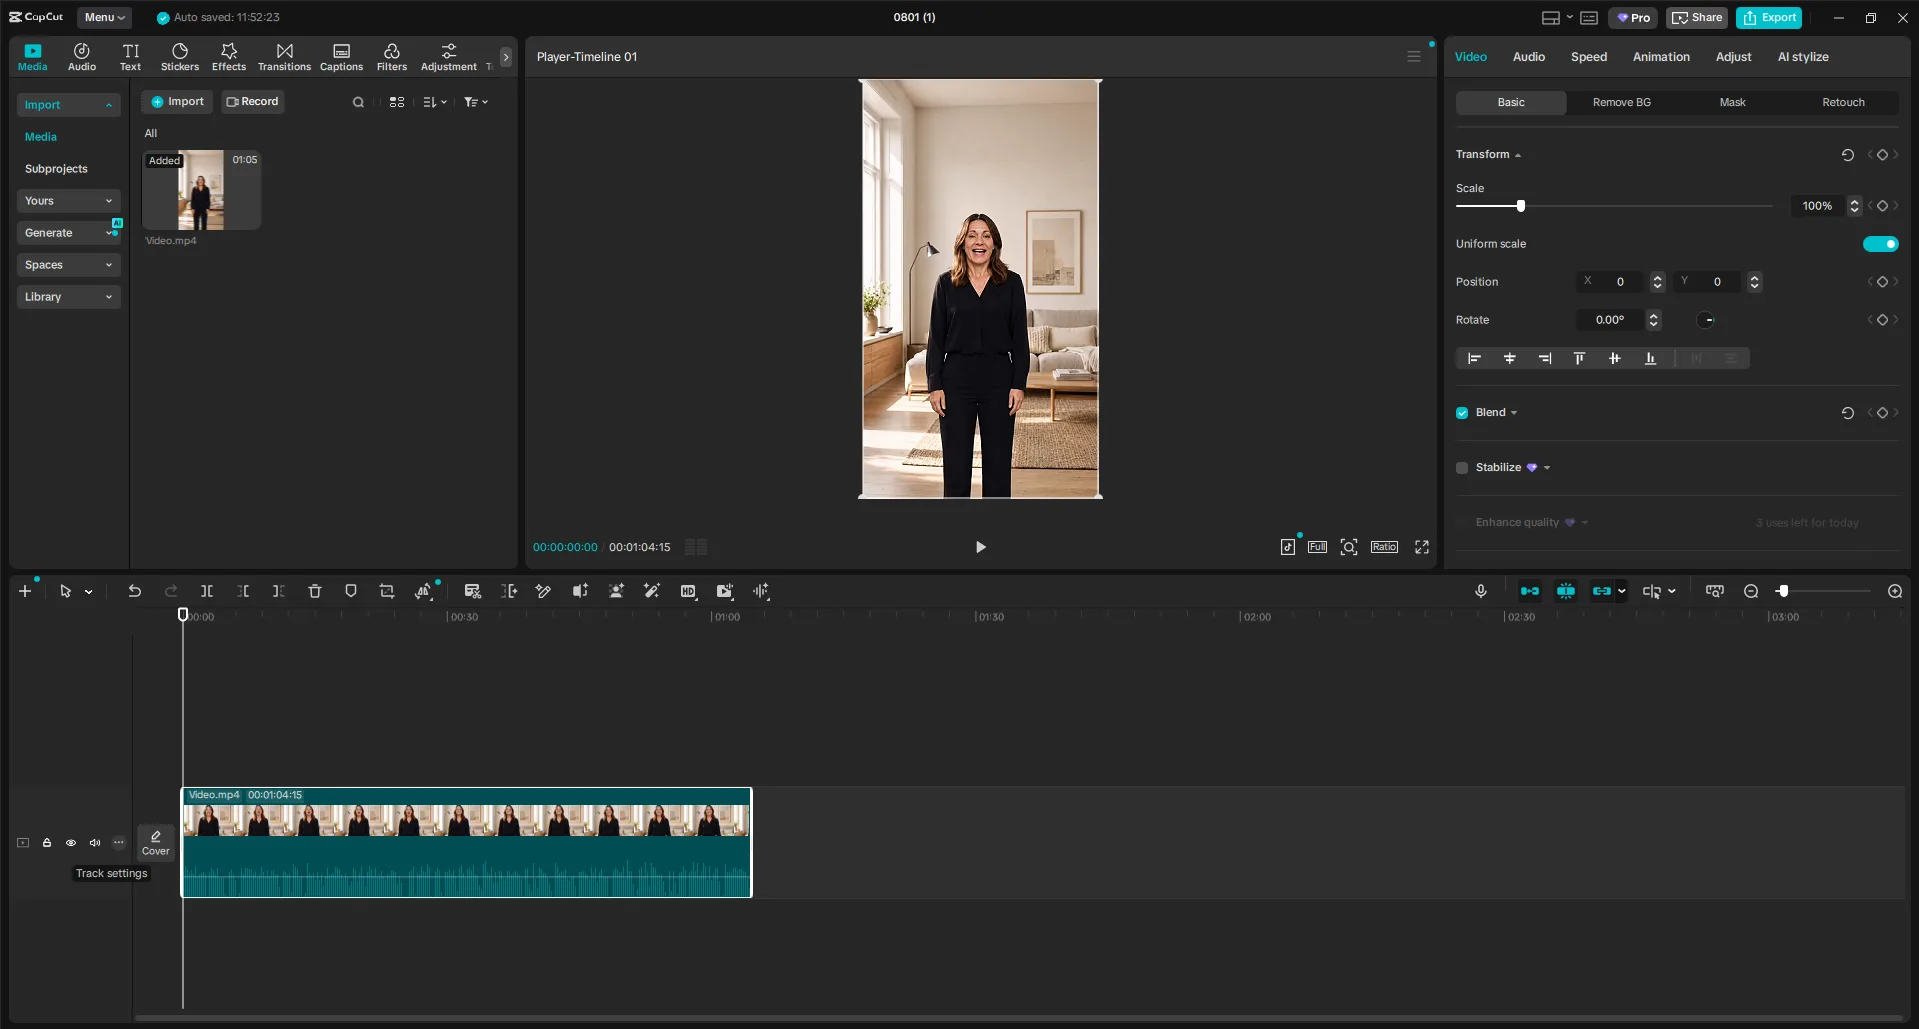
Step 2 Drag it onto the timeline. The clip appears with its filmstrip and audio waveform.
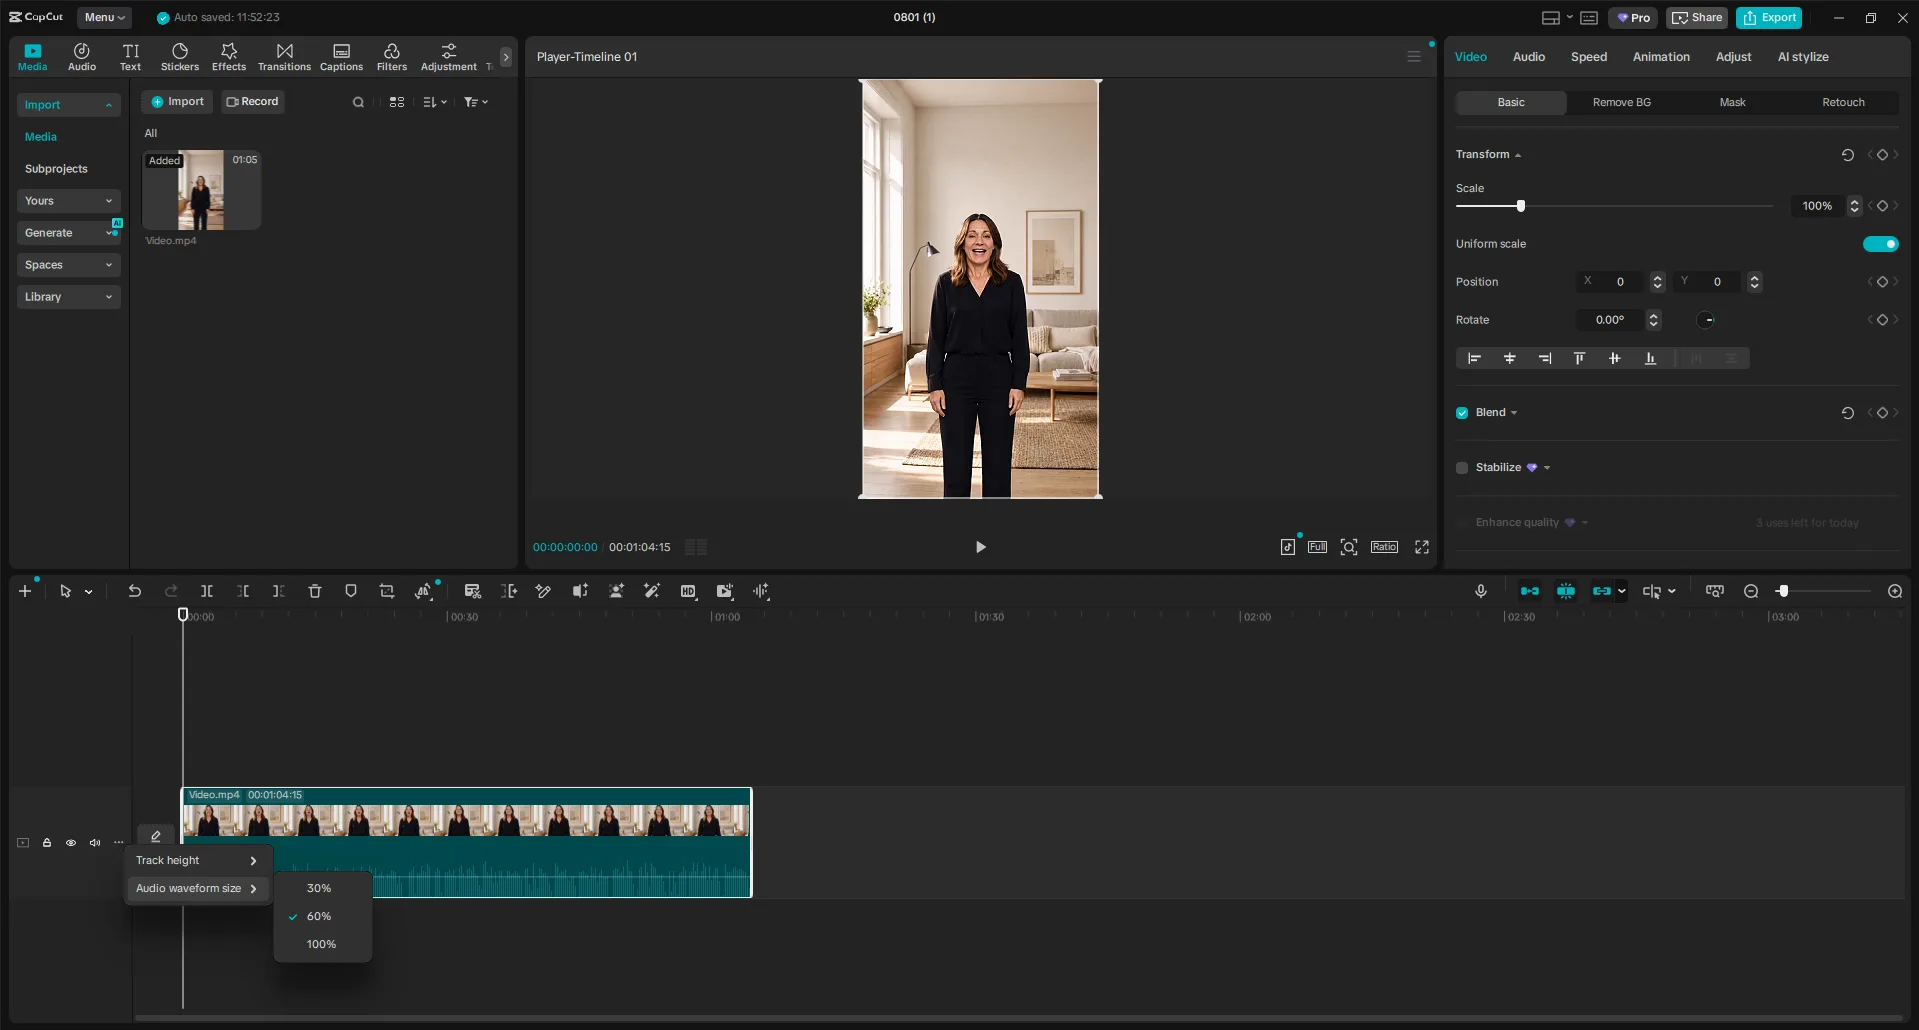
Worth doing while you're here: a taller waveform makes it far easier to check captions against the speech afterwards. Click the ⋯ (Track settings) on the track header and raise the Audio waveform size.
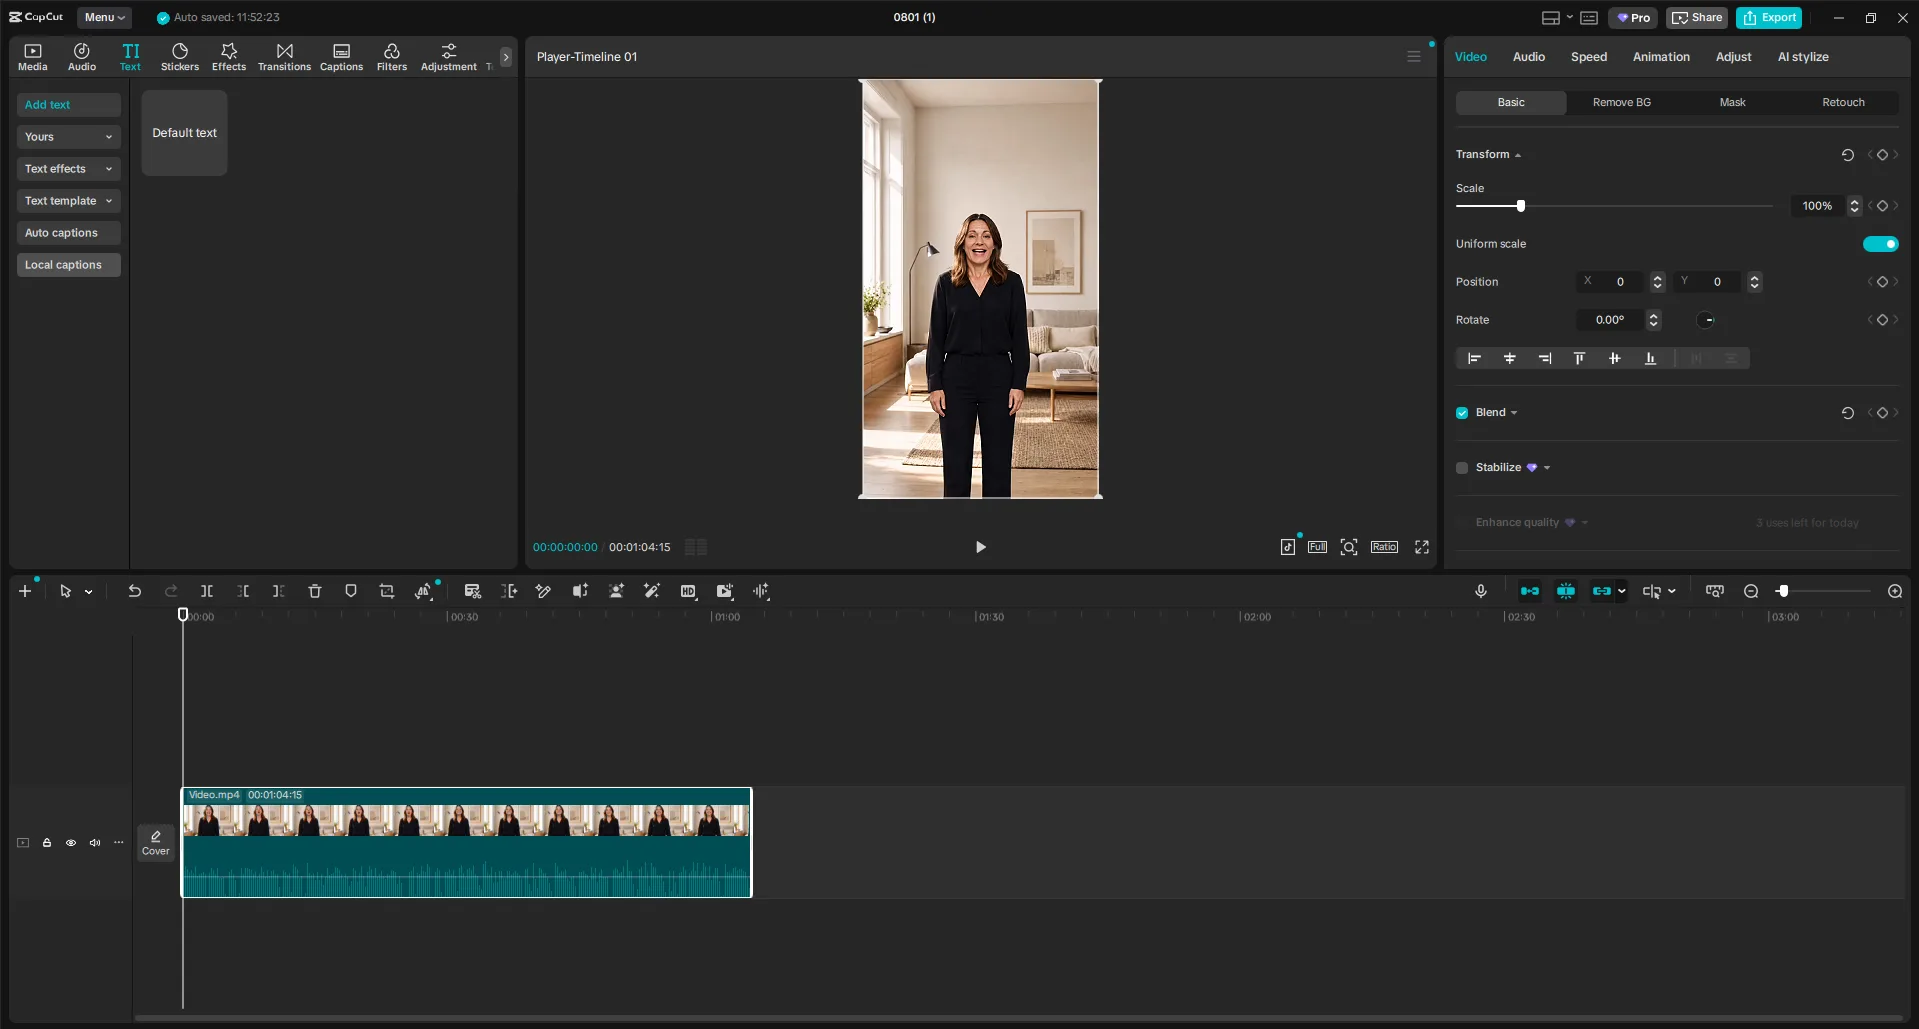
Step 3 Open the Text tab. It's in the top toolbar. The left sidebar switches to text tools, with Auto captions and Local captions at the bottom.
Step 4 Local captions → Import file. Pick your SRT. CapCut accepts SRT, LRC and ASS, and either line-ending variant works, so it is far less fussy here than DaVinci Resolve. The file appears in the panel next to the Import button.
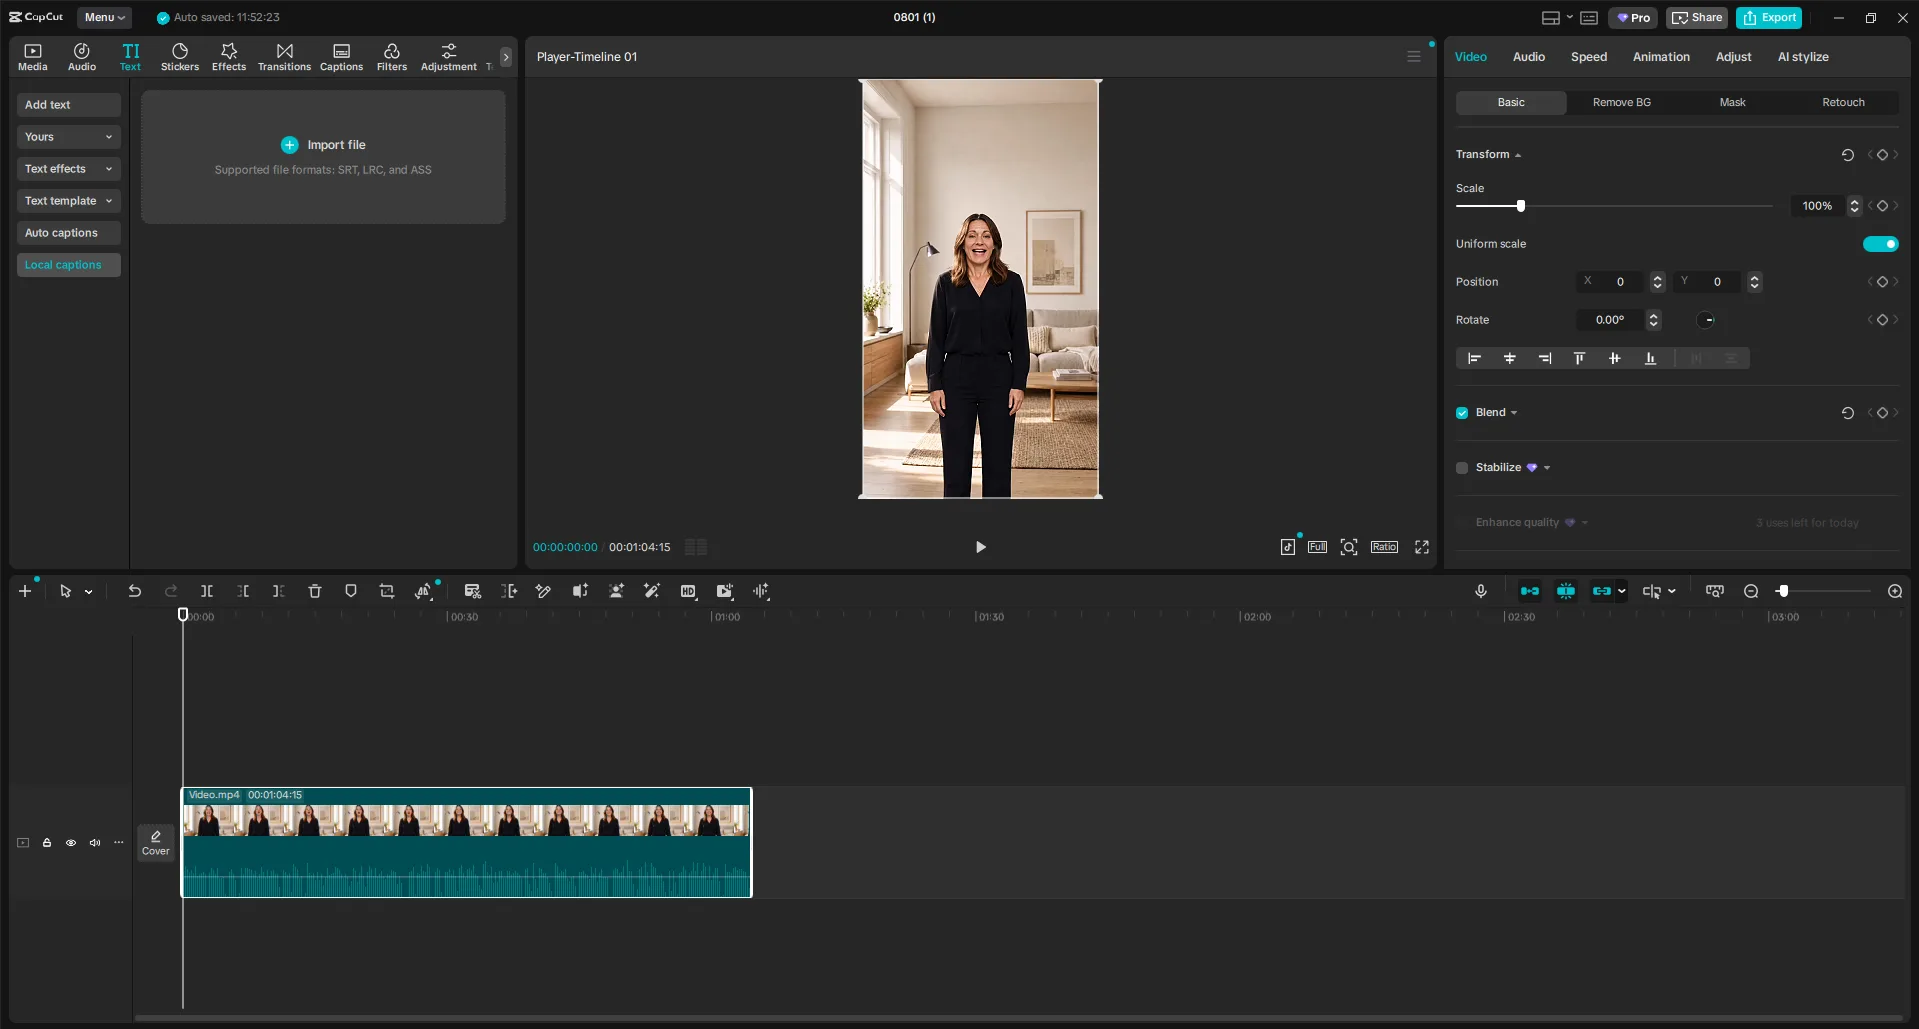
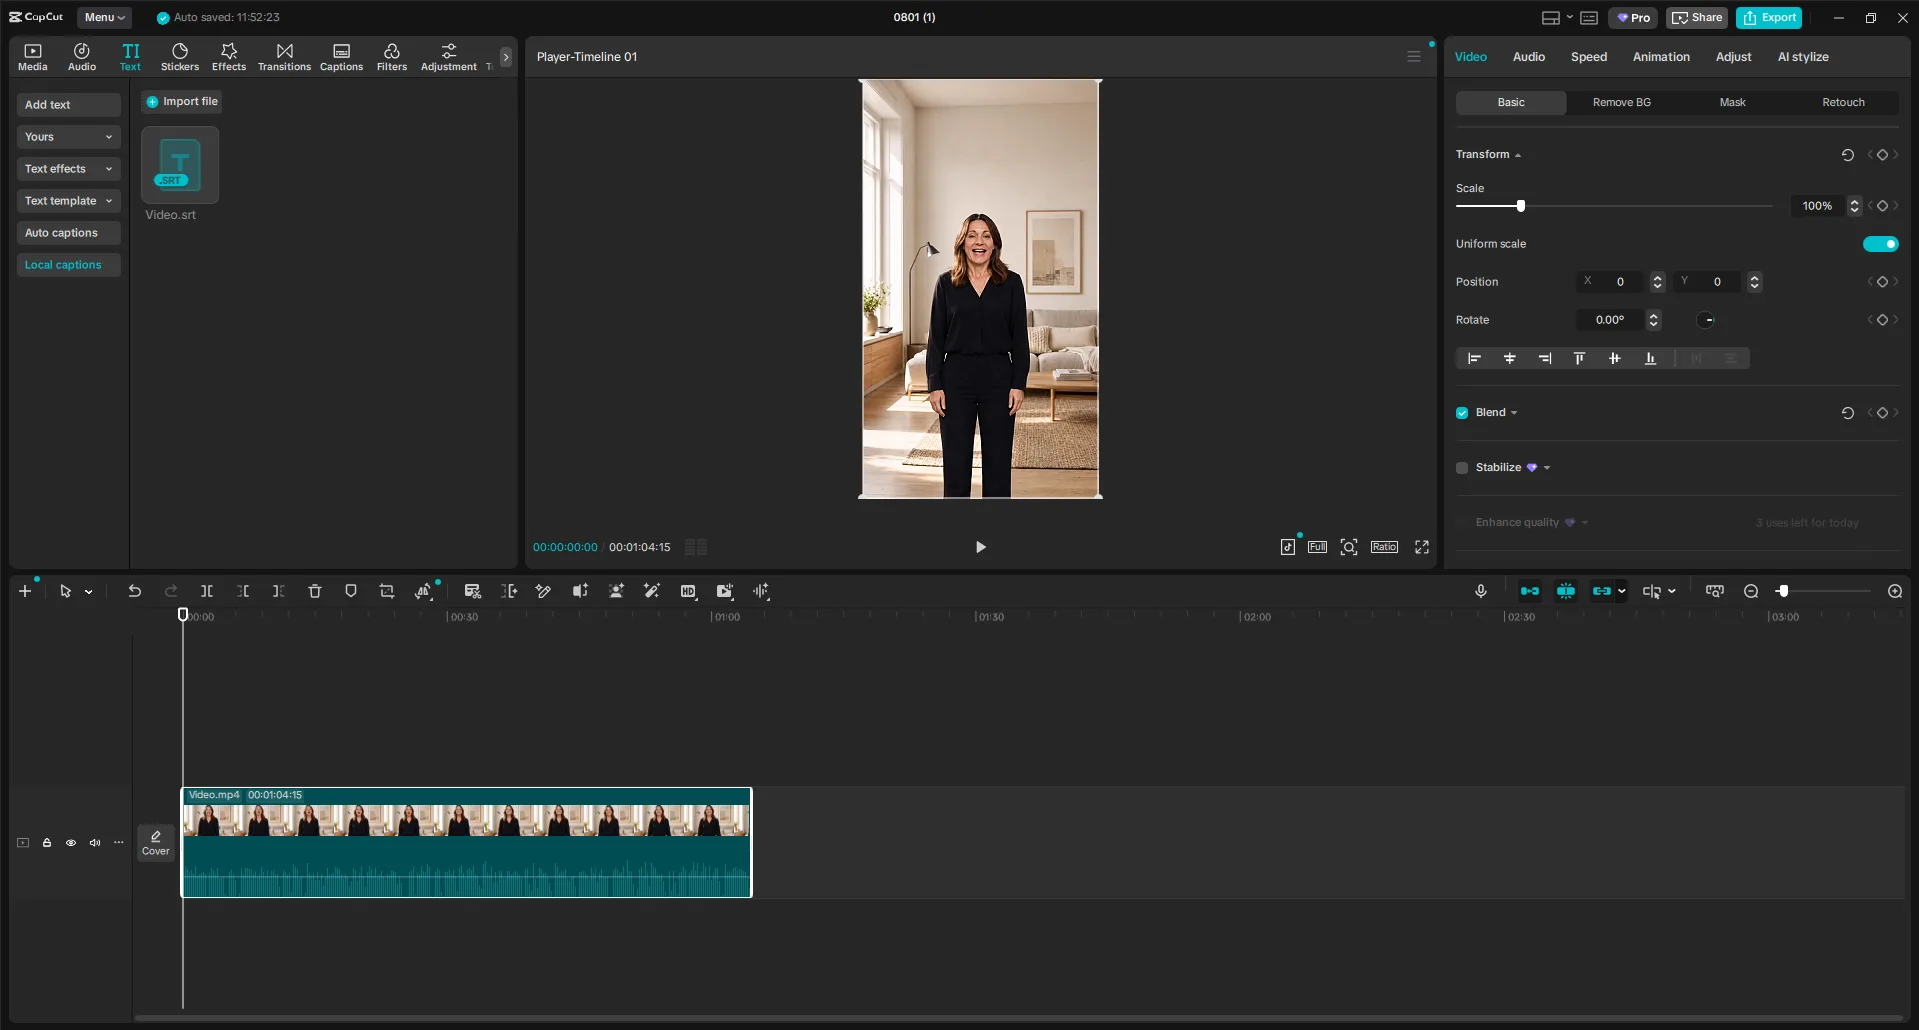
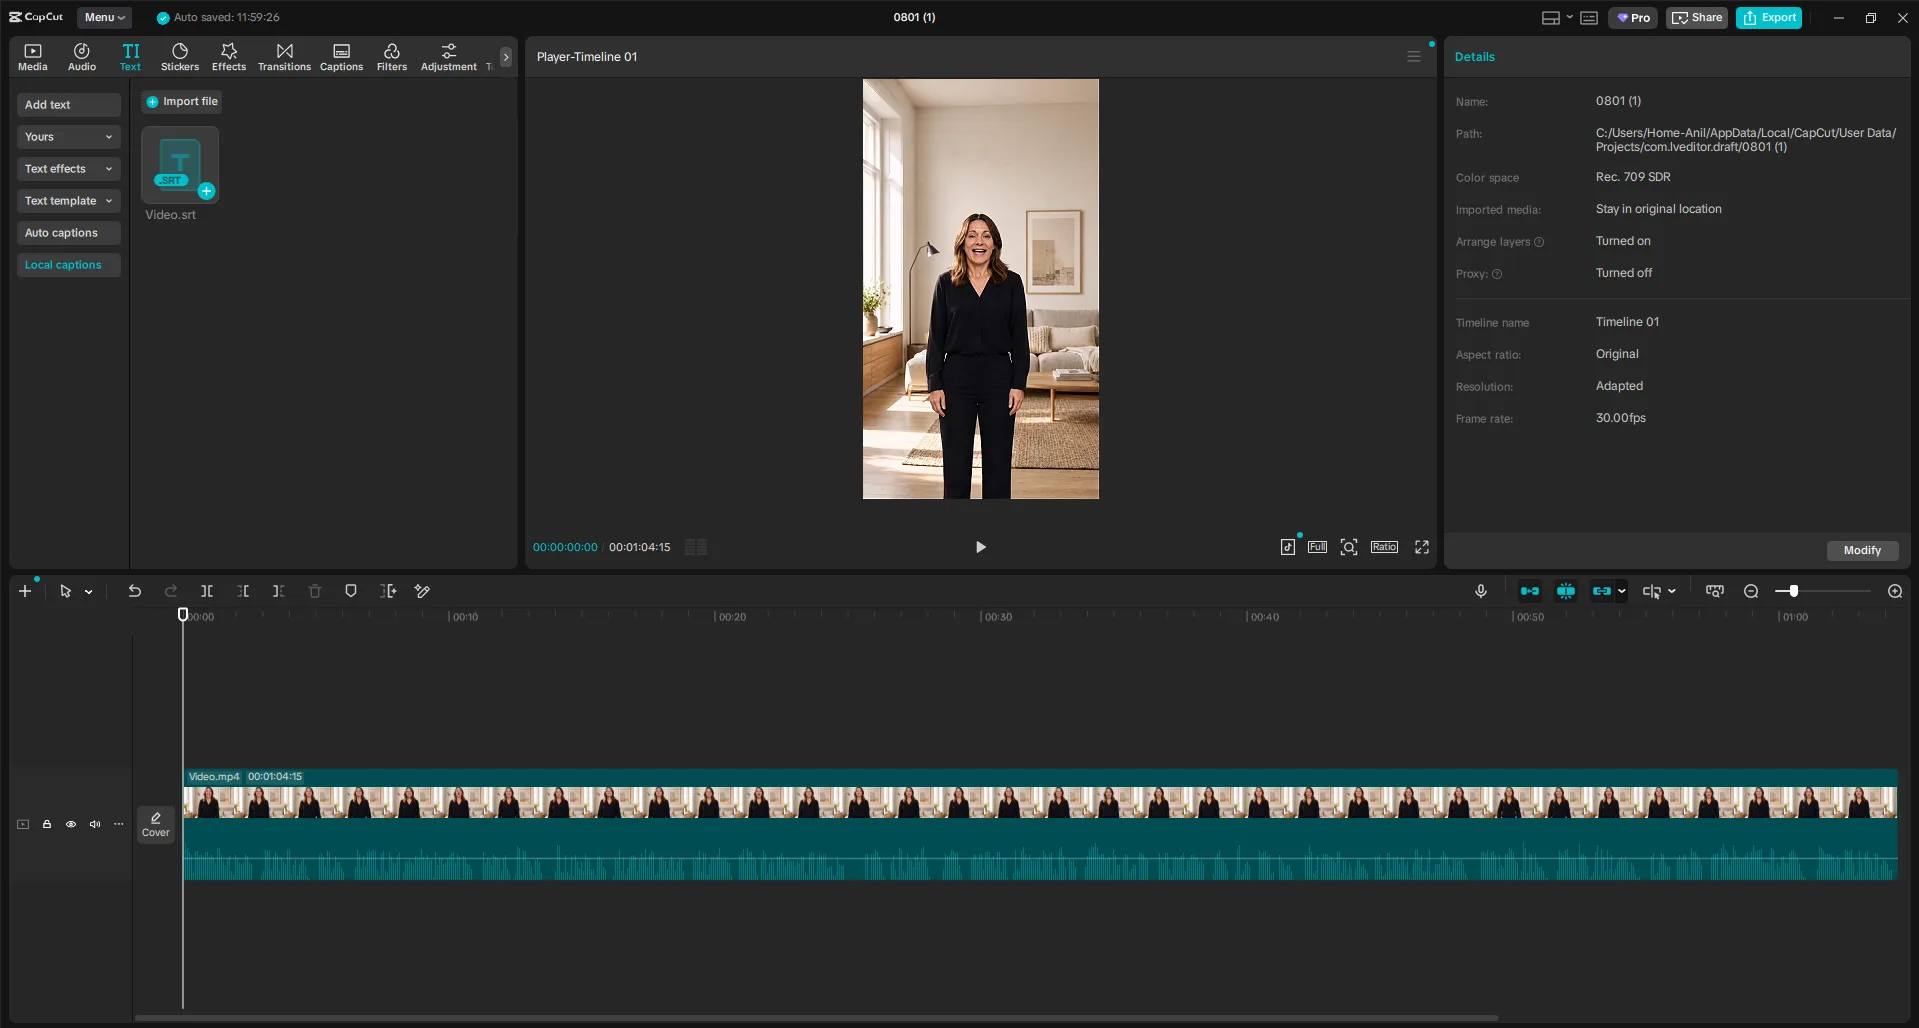
Step 5 Hover the imported file and click the + icon. That's the add-to-timeline button, and it is easy to miss because it only appears on hover.
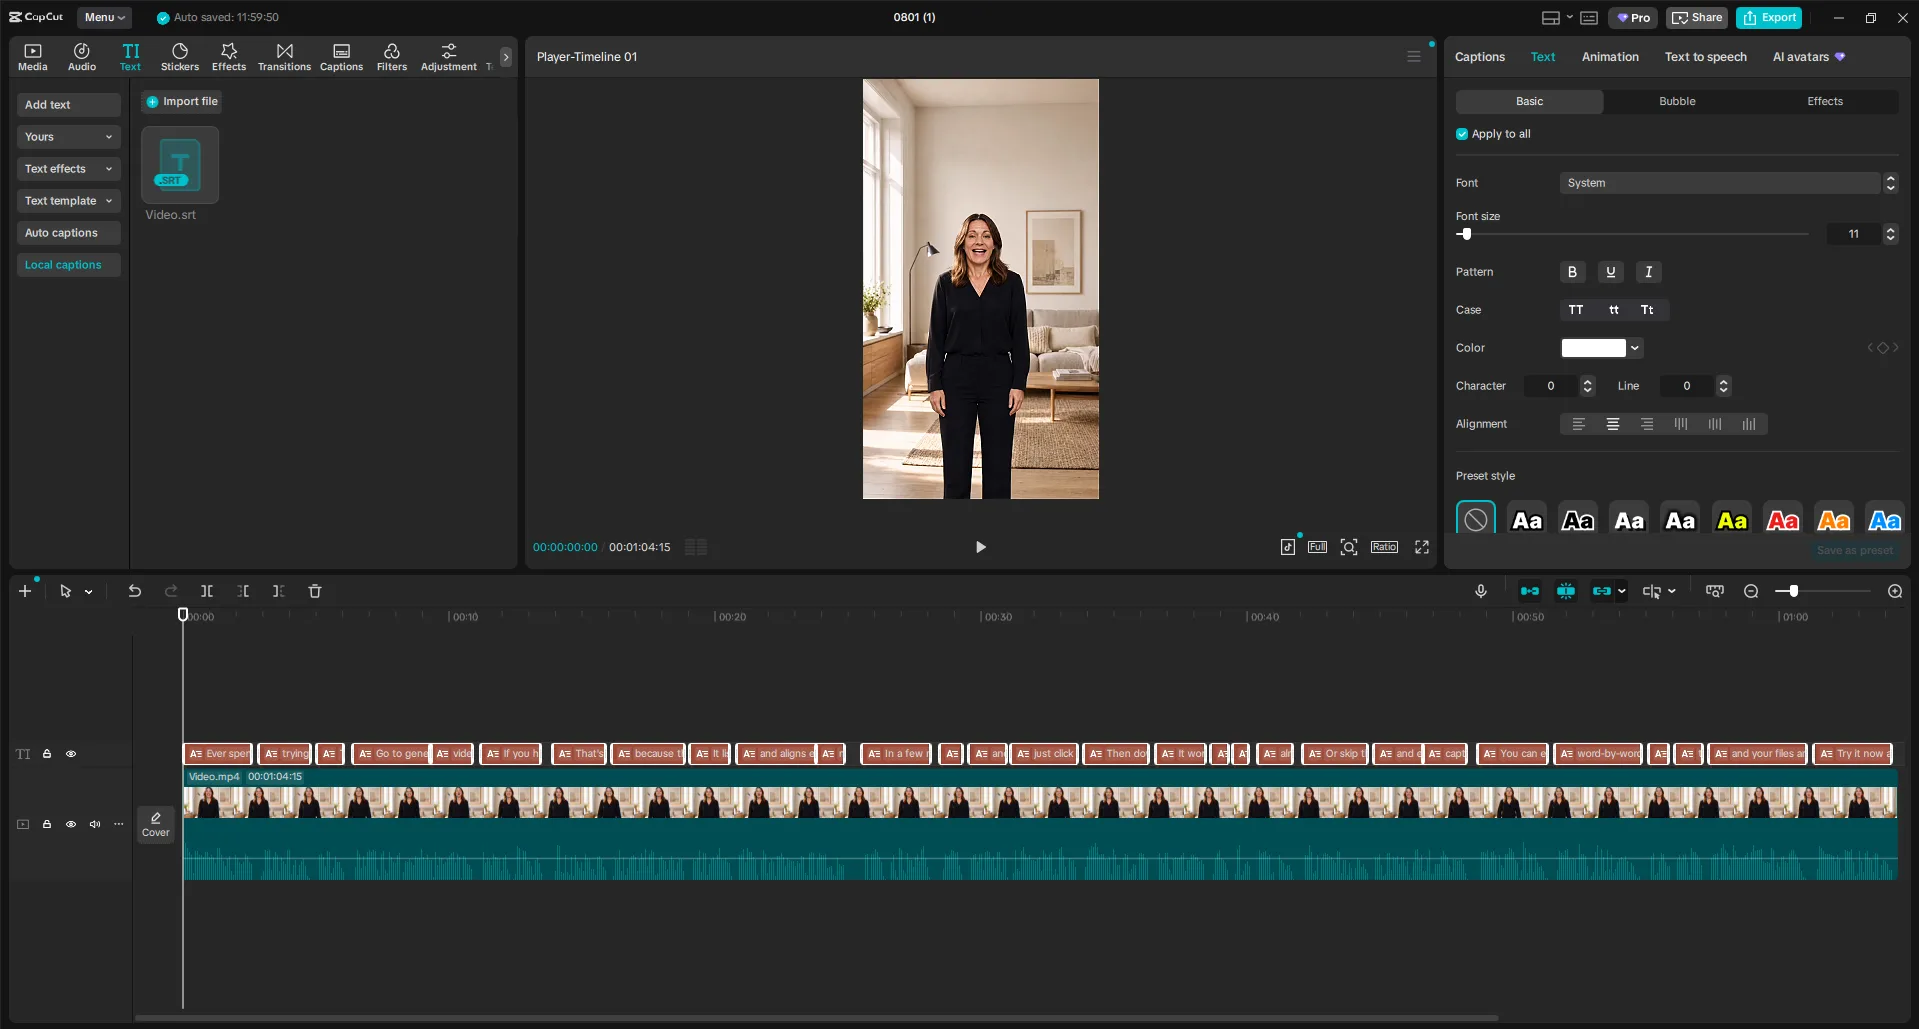
Step 6 Done. CapCut places every cue on its own caption track at its timestamp. Style one caption with Apply to all ticked - font, size, colour, position - and the whole track follows.
6. Styled captions, burned in
CapCut's caption templates are the reason most people use it, and for a quick vertical video they're hard to beat. Where they fall down is the same place: an animation that highlights each word as it's said is only convincing if the word timings are real. Estimated timings make the highlight land slightly off the voice, and that reads as sloppy even when viewers can't say why.
If you want that style with timings measured from the audio, our caption maker burns word-highlight captions into the video on our servers - six presets, no watermark, and the highlight moves with the actual speech.
Either way, keep the corrected SRT. It's the part that took your attention, and it's reusable long after a particular caption style has gone out of fashion.